Getting started
The board
Everything here targets one specific piece of hardware: the Waveshare ESP32-S3-Zero, a thumbnail-sized board with the pads brought out to a castellated edge. It matters more than usual which board it is, because nothing between your code and the silicon is doing any abstracting — the pin numbers, the flash layout and the LED's wire timings are all properties of this board rather than of a framework.
- Chip
- ESP32-S3FH4R2 — dual-core Xtensa LX7
- Clock
- 20 MHz at reset, 160 MHz after board_init()
- Memory
- 4 MB flash, 2 MB PSRAM
- Flash layout
- This image is written to offset 0x0
- USB
- One USB-C, wired to USB-Serial-JTAG
- LED
- WS2812 addressable RGB on GPIO21
- Buttons
- BOOT and RST
- Off limits
- GPIO33–GPIO37 (PSRAM), GPIO19/GPIO20 (USB)
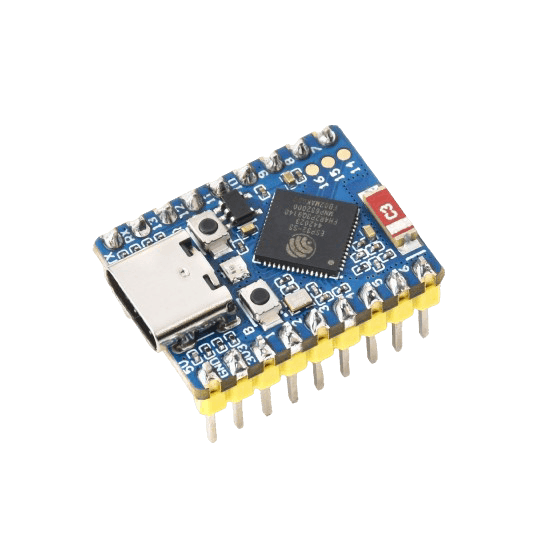
The datasheets behind those numbers are on Hardware.
You need the Espressif Xtensa toolchain (for xtensa-esp32s3-elf-gcc),
esptool, and GNU make. Installing ESP-IDF gets you the first two; you do not
otherwise need the IDF, and nothing here includes one of its headers. On
Windows, make is not shipped — winget install ezwinports.make.
git clone https://github.com/codewithamoako/esp32s3-baremetal .
make
If that prints a size line and Successfully created ESP32-S3 image, you are
set. If it cannot find the compiler it says so and tells you what to pass.
Finding the tools. The Makefile looks in three places, in this order: what
you pass on the command line, then PATH, then a stock Windows Espressif
install. So on Linux or macOS, sourcing the IDF's export.sh first is enough;
on Windows the usual C:\Espressif install is found on its own. Anything else
gets pointed at directly:
make TOOLCHAIN=/path/to/xtensa-esp-elf/binYour serial port is the one thing that cannot be guessed. The default is
COM6 on Windows, /dev/ttyACM0 on Linux, /dev/cu.usbmodem101 on macOS —
override it if the board turns up elsewhere:
make flash PORT=COM7
make flash PORT=/dev/ttyUSB0
Flashing writes to offset 0x0, which replaces the bootloader. See
Flashing replaces the bootloader before
you run it on a board you care about. If the board does not respond, hold
BOOT, tap RST, release BOOT to force download mode.
Then run make list and flash an example — gpio_button needs no wiring
at all and is the quickest way to confirm the board, the toolchain and the
flashing all work. After that, write your program in main.c.